Henry Ramsey
Member
So I have a bathroom sink I just installed with new tile countertop etc. Standard [strikeout]Kohler[/strikeout] Glacier Bay sink from Home Depot.
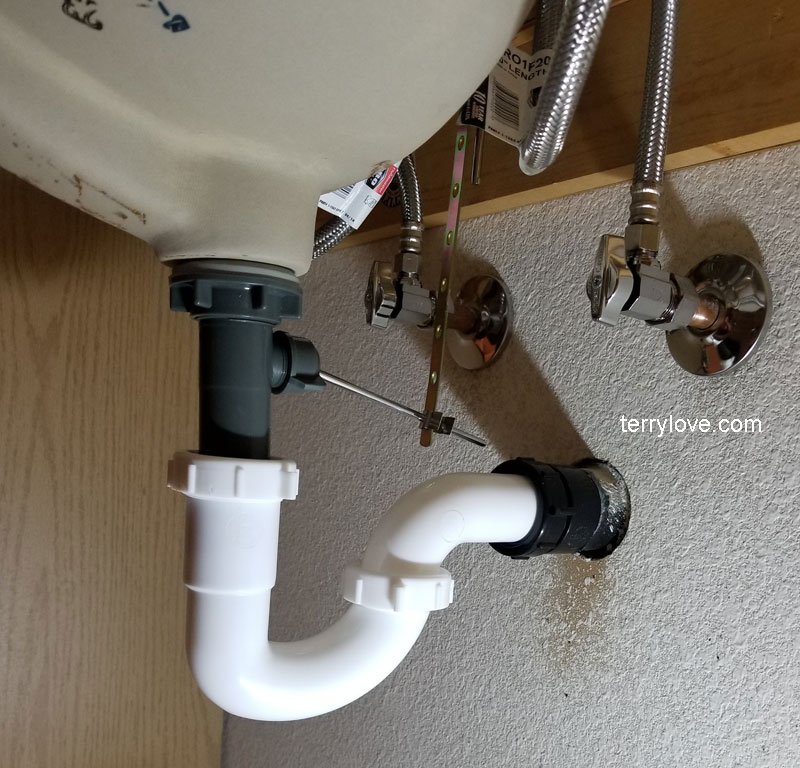
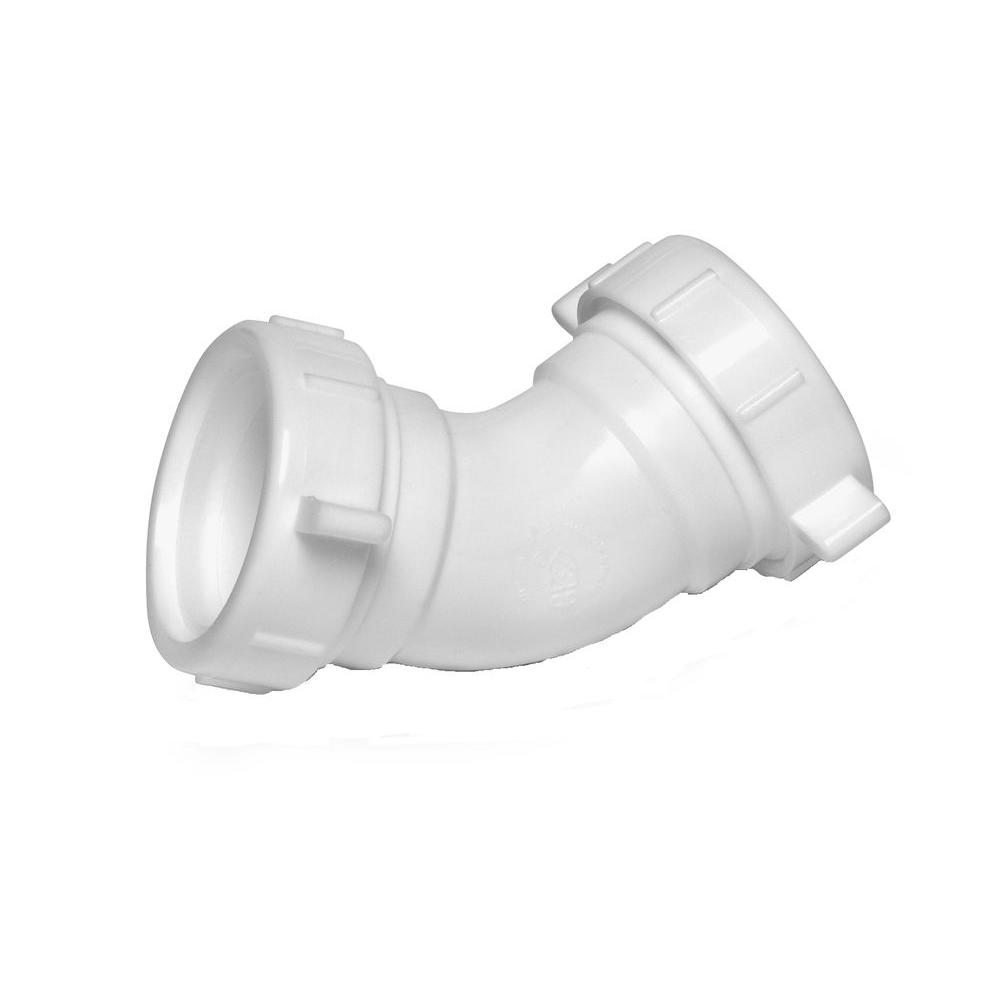
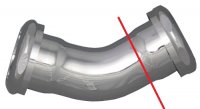
Original glued in pipe had a 45 bend in it which was not allowing the new sink to align with it.
Cut all of that off and installed new plumbing from wall out.
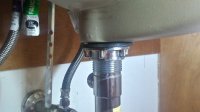
I put the drain in, but found it was leaking at the gasket around the tail piece.
I took everything apart and found the rubber gasket is the problem. It will not mate properly with the
hole of the sink. The nut doesn't push it into place either. It squishes it sideways which I guess is why
it leaked to begin with. It's like it's stretched by the pipe a hair to big for the hole in the sink.
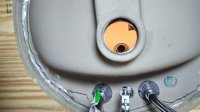
I tried to put the gasket on first.
The gasket fits without the pipe perfectly, but then the pipe will not push through the hole and nor will it screw through either. I tried to 30 minutes to force it and all I got was a sore hand and back.
Any ideas of what to try next?
Original glued in pipe had a 45 bend in it which was not allowing the new sink to align with it.
Cut all of that off and installed new plumbing from wall out.
I put the drain in, but found it was leaking at the gasket around the tail piece.
I took everything apart and found the rubber gasket is the problem. It will not mate properly with the
hole of the sink. The nut doesn't push it into place either. It squishes it sideways which I guess is why
it leaked to begin with. It's like it's stretched by the pipe a hair to big for the hole in the sink.
I tried to put the gasket on first.
The gasket fits without the pipe perfectly, but then the pipe will not push through the hole and nor will it screw through either. I tried to 30 minutes to force it and all I got was a sore hand and back.
Any ideas of what to try next?
Last edited: