Trouble with hose bib change-out (leak)

Ginahoy

Building Systems Engineer
Messages
85
Reaction score
0
Points
6
Location
Sierra Vista, AZ
The wife wanted a hose bib with the spout pointed down instead of a 45 degree angle. The existing bib has 3/4" male threads and there's a large brass nut captive on the copper stem protruding out of the wall.

It was a bit tough to tighten the new bib, but it's definitely tight, and it leaks. I used teflon tape so I can't believe it's leaking! Upon closer inspection, the drip-drip leak appears to be from the *rear* of the nut! Here's the thing: when viewed from the side, the bib/nut appear to be cocked at a very slight angle from the copper stem. Not good.

Since the nut is captive on the copper stem, I'm guessing there's a compression ring inside the nut. Sorry, I'm a plumbing novice!

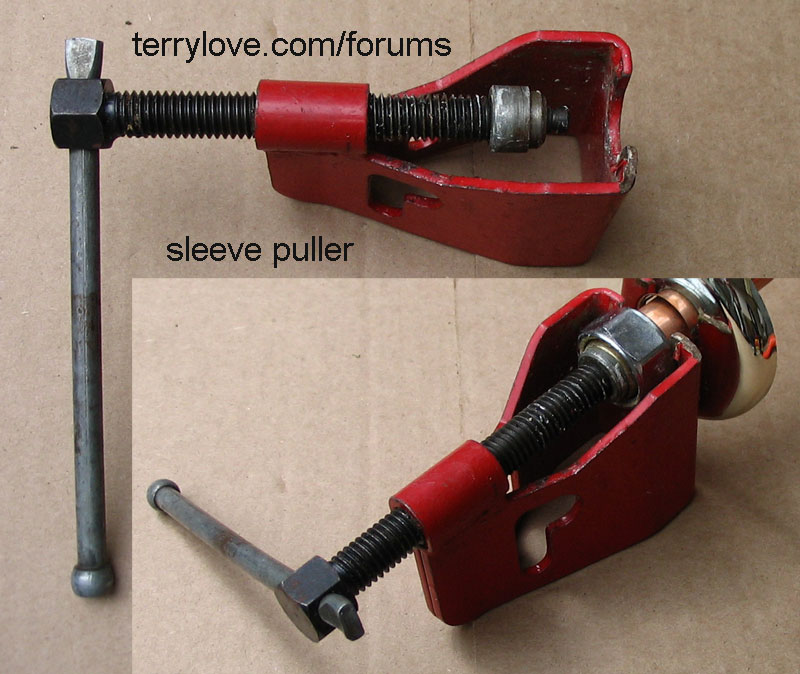
I figure the ring might be damaged, so I purchased a new 5/8" ring to replace it with. However, I can't slide the nut back to expose the ring. How can I get the ring off if I can't see it? And why won't the nut slide back to expose the ring?
 
Last edited:
Just replace it with a new one.
Replace *what* with a new one? The bib *is* new.

In case it wasn't clear from my OP, the new bib is definitely not cross-threaded in the nut. The bib and nut are perfectly square with one another... it's the bib/nut assembly that's slightly cocked on the copper stem.
 
Replace *what* with a new one? The bib *is* new.

In case it wasn't clear from my OP, the new bib is definitely not cross-threaded in the nut. The bib and nut are perfectly square with one another... it's the bib/nut assembly that's slightly cocked on the copper stem.

Replace the entire bibb or fitting
 
Replace the entire bibb or fitting
Huh? I just replaced the bib. There's nothing wrong with it. The only other parts are the copper stem protruding from the wall and the nut (and presumably, a compression ring under the nut). The copper stem can't be replaced without opening the wall, which would either require hiring a stucco contractor or a drywall contractor, painter, etc. Last resort. I just want to know how to remove the compression fitting from the copper stem. It's probably too short to cut off and start over.
 
Huh? I just replaced the bib. There's nothing wrong with it. The only other parts are the copper stem protruding from the wall and the nut (and presumably, a compression ring under the nut). The copper stem can't be replaced without opening the wall, which would either require hiring a stucco contractor or a drywall contractor, painter, etc. Last resort. I just want to know how to remove the compression fitting from the copper stem. It's probably too short to cut off and start over.

Take a picture and post it. If you just replaced the entire hose bibb then whats leaking?
 
Take a picture and post it.
I'll post a picture in the AM, when it's light outside. In the meantime, here's a stock image of a bib similar to the one I installed:

If you just replaced the entire hose bibb then whats leaking?
In my OP, I explained that the leak is on the BACK side of the nut. The new bib did not come with a nut. Apparently they're sold separately. As I said, the nut is captive on the copper stem sticking out of the exterior wall. I'm guessing there's a compression ring holding the nut on the stem, but I can't slip the nut backwards to expose the compression ring. There's enough room behind the nut, but it simply won't slip off the ring. I guess that's how they're made.

I just want to know how to get ring off so I can install a new one. If I cut off the pipe stem behind the ring to start over, I'm worried the stem may be a tad too short.

I do appreciate your replies, but I feel like I'm going in circles since I keep repeating myself to answer your questions. I'm doing the best I can to describe what I have.
 
Last edited by a moderator:
If the new one didn't come with a nut its probably not a compression fitting. Could be that its MIP thread so that won't work. Why not just cut off the nut and solder on a hose bib?
 
If the new one didn't come with a nut its probably not a compression fitting. Could be that its MIP thread so that won't work. Why not just cut off the nut and solder on a hose bib?
The threads on new bib are the same as the old bib. In fact, I replaced another bib this evening without any issues. Same model original bib, and same model replacement bib.

Since I'm a DIY'er, I don't have the tools or skills to do soldering.

After reading some other threads here, I'm convinced the problem is a damaged compression ring. Apparently they don't always hold up upon reuse. If I can just get the old ring off, I can make this work. There must be a way to do this.

sleeve_puller_1.jpg
 
Last edited by a moderator:
Well teflon tape is not needed with a compression joint, the seal is from the ring not the threads. Depending on how much or where you put the tape it could cause a leak. The nut should slide back with a little tap from a hammer, if not maybe its time to call a plumber before you damage whats left of the pipe and cost yourself more in the end.
 
Hire a plumber or pony up, DIY doesn't mean "don't, can't, won't try, don't want to buy any tools"...


What else could you posssibly say!

I think, ginahoy, that you need to replace the compression fitting female adapter that is on the copper tube sticking out of the wall. If you have enough of the tubing sticking out, and you are unable to remove the old adapter fitting from the tubing (you said you have no tools?), you can cut the tubing with a hacksaw, clean up the cut end of the tube, and install a new compression adapter like the old one. If you look at it, you can cut the nut off (not with your eyes, though), and use a file to remove the compression bead and install a new one. WHY won't the old nut slide back towards the wall?
You posted no pictures yet, so I'm just using my imagination as to what you have there. Here's a picture what I'm talking about (rather expensive little bugger) http://www.sears.com/shc/s/p_10153_...9x00001a&ci_src=14110944&ci_sku=SPM2314824903

I think you've already received all the necessary info here, and the best advice given was to get a plumber there, cause somethin's not right there:eek:
 
The compression nut on that type of faucet is SELDOM a standard 5/8" thread size, (it is NOT a 3/4" male thread even though it may measure 3/4")., and may not even have a "generic" thread pitch. In many cases when the pitch is different, you CAN force it onto the threads, it WILL be crooked, and it will leak.
 
The compression nut on that type of faucet is SELDOM a standard 5/8" thread size, (it is NOT a 3/4" male thread even though it may measure 3/4")., and may not even have a "generic" thread pitch. In many cases when the pitch is different, you CAN force it onto the threads, it WILL be crooked, and it will leak.

HJ, you mean the hose bib he has has a compression fitting connector on its infeed end? Ah yes! his second photo show that; I did not look originally at the second link. Duh. Looks like his purchase is like mixing oranges and apples.
 
Actually the hose bibb picture is a 1/2" mip thread, which would NEVER seal with a compression nut. I think he mixed apples and oranges, instead of purchasing a replacement compression inlet hose valve, which would normally be a "washing machine" hose valve.
 
Turns out the bib was indeed MIP as some of you already surmised. Not sure why I was able to tighten all the way down (it *was* a bit difficult). That, plus the fact that the leak was from the back of the nut rather than from the thread side, sent me in the wrong direction. I didn't pick up on this earlier since I'm unfamiliar with the various thread standards. Thanks for pointing this out. I just removed the new bib and the it's obvious the tips of the threads, once sharp, are now flat. File 13.

As for my comment in msg #9 that I had replaced another bib without issue (bib had a broken handle)...
My wife just reminded me that the bib I used was the original with 45-degree spout I had just removed from the other location. That's why it fit fine. Must have been a senior moment. So I still have a brand new MIP bib with 90-degree spout.

Now back to the original issue -- how to get the existing compression ring off the pipe. Thanks to Jerome's comment, I was able to knock the nut back away from the ring... never would have thought of hitting it! I figure it either clears or it doesn't. As it turns out, the nut is actually snug to the pipe, not the ring. I probably could have forced it back with my hands if I had tried.

Now that I can see the ring, I tried to remove it with channel locks but it's too tight. However, with the nut now out of the way, I can cut the pipe just behind the ring, leaving enough remaining length to feel comfortable.

I checked a couple of local h/w stores to see if I could find a compression type bib with spout pointing down (the original reason for the change-out). No luck. So I'll just use the other MIP bib I have on-hand. Now the question is how to install. I could go ahead buy a propane torch and solder an FIP fitting onto the pipe, but a wise friend once told me that sweating a pipe isn't something I can expect to do correctly the first time, or the second, at least not without supervision.

As it turns out, I used SharkBites to connect my water softener last year and haven't had any issues. So that's how I will end this saga. Thanks to all of you for putting up with me! Hopefully this thread will be of some help to other novices out there.
 
Last edited:
They make a puller for the ferrule part of the compression ring that would make quick work of pulling it off.

sleeve_puller_1.jpg
 
Last edited by a moderator:
They make a puller for the ferrule part of the compression ring that would make quick work of pulling it off.
Wow! That's exactly what I was looking for... yesterday.

Based on your comment, I found a Compression Sleeve Puller at the Ace website. But no longer needed. Now that I can see the ring (ferrule), I believe removing it would leave the pipe scarred or gouged, making the SharkBite more likely to fail. In any case, now that I have the nut away from the ring, I believe I have enough pipe to simply cut off the portion with the ring.

sleeve_puller_1.jpg
 
Last edited by a moderator:
A sharkebite will work but the problem is it will be able to spin easily on the copper pipe. Soldering really isn't as hard as you think. The main thing like Hackney says is make sure there is no water! There are a few threads on soldering on this site that if you follow the steps you would be fine.
 
A sharkebite will work but the problem is it will be able to spin easily on the copper pipe.
Hmm... didn't think about that.

Soldering really isn't as hard as you think. The main thing like Hackney says is make sure there is no water! There are a few threads on soldering on this site that if you follow the steps you would be fine.
I just read through some threads here on "how to". I guess I'm going to learn to solder!

I found a Benzomatic torch in my garage along with some Oatey SafeFlo Silver solder, some Oatey 20-95 flux that appears to be in good shape, and a couple of clean flux brushes. Long story, but suffice to say I never touched the stuff. I also have a pretty good pipe cutter, a tool I do have some experience with.

I'm going to toss the 20-95 and pick up some Oatey 95, as recommended by several forum regulars. I also need to pick up a 1/2" wire brush.

Rather than starting a new thread, I have a quick question. I have plenty of sandpaper of various grits on hand. Is that OK for prepping the pipe? If so, is 200 about right?

I do hope I can get that pipe dry! I like the bread idea :rolleyes:

Thanks
David
 
Back
Top