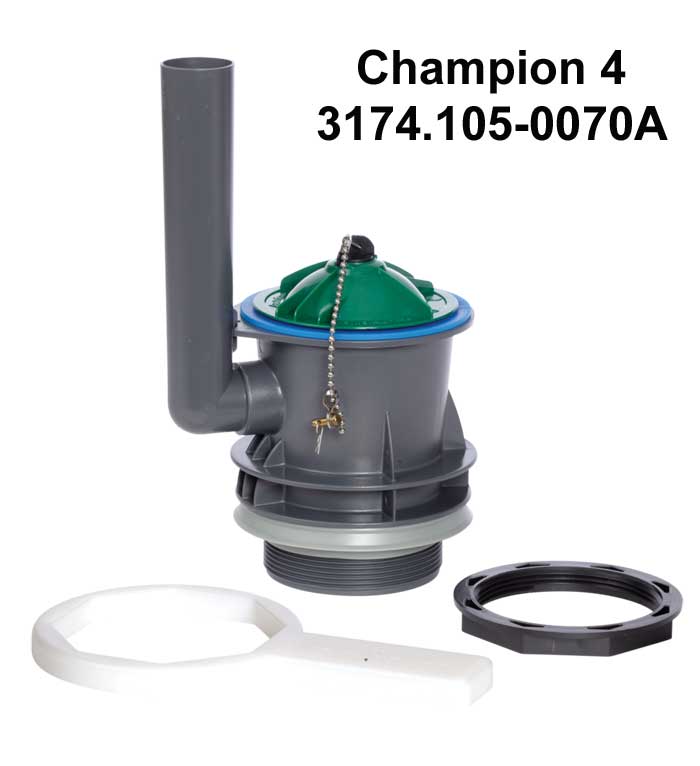
Assembling the 2-Piece Champion 4
Just wanted to share my experience with assembling the 2-piece American Standard Champion 4. Bought it at Lowe's and installed it earlier this week (Dec 2008).
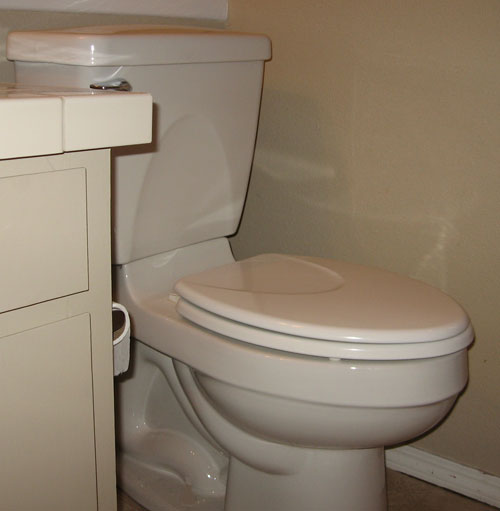
1. Install the toilet seat BEFORE you set the bowl in place. Do it with the bowl lying on its side. This makes it possible to tighten down the one "hidden" nut that's very hard to get at. I had to use a "bare" socket (no wrench attached) to tighten that hidden nut.
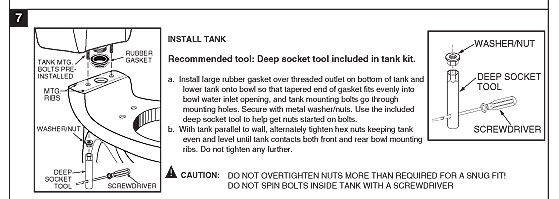
2. Yes, when you first set the tank on the bowl, the gasket seems WAY too thick. But it will come together, if you just take your time.
3. Don't use that shoddy tool that Am Std includes. Use a socket wrench to tighten the tank-to-bowl bolts.
4. Tighten each bolt alternately, maybe two or three turns at a time. You won't need another person to "throw all their weight onto the tank as you tighten". But you may need to gently press down on the side of the tank that you're tightening.
5. Using the socket wrench, you will feel when you've tightened as far as you ought to (don't force it!). I was able to get the tank to contact the front ribs on the bowl, but had to stop tightening before I got contact with the back ribs. There was perhaps a 1/4" gap remaining between the tank and the back ribs. But that's OK, because the tank does not wobble at all, the gasket is well-compressed and leak free, and the top of the tank is level enough.
6. After the gasket has "set" for a while (a few weeks?), it may be possible to go back and tighten the bolts further, and bring the tank down to the back ribs. But if it doesn't leak, I see no reason to have to do that.
7. The flush is good and there's a reassuring (but quiet) "thunk" to it.
8. I'll keep a watchful eye and hope the flush valve doesn't begin leaking, as so many have reported. This is one of three toilets in our house, so it won't see a tremendous amount of duty, but I wanted to have at least one good flusher as the "go-to" unit, if you know what I mean.
Thanks to all on this forum for your advice.