bet3z
New Member
- Messages
- 27
- Reaction score
- 1
- Points
- 3
How about packing a inch of oakum in the bottom of the hub then use rubber ?
Based on his reaction when I asked for the donut, I wonder what sort of look the guy at the plumbing supply place I found would give me if I asked for oakum!
") I actually probably would have done it if the store had been open today.
I actually probably would have done it if the store had been open today.Anyway, here's what I did:
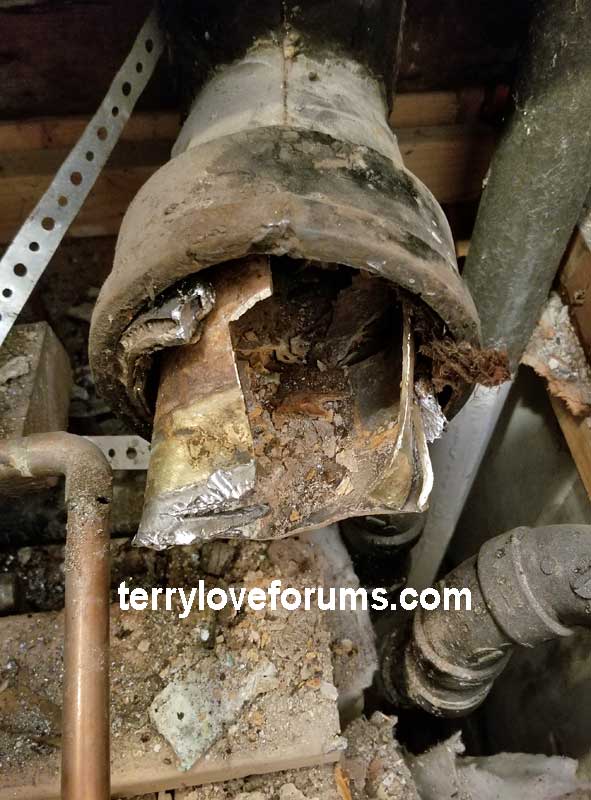
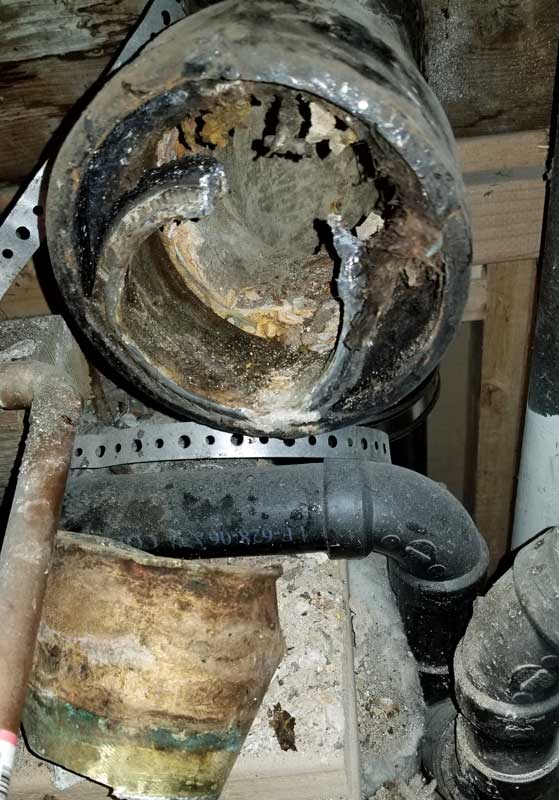
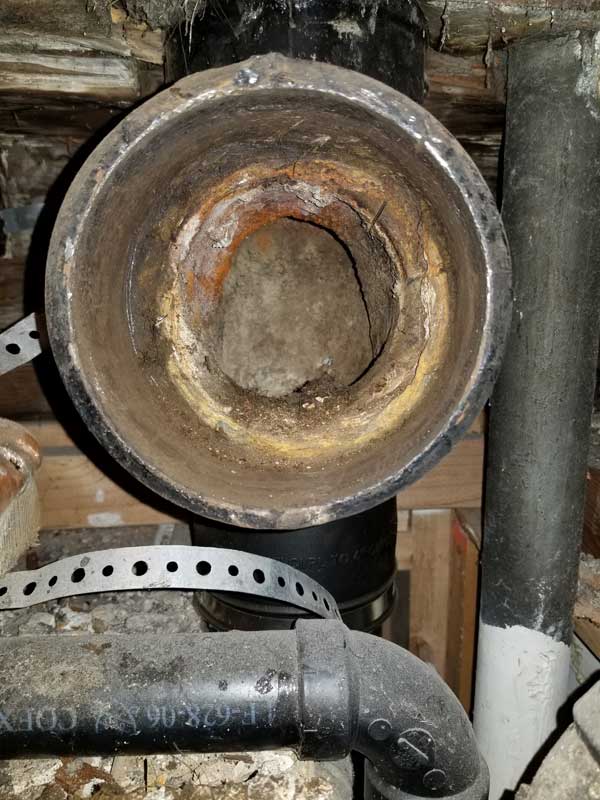
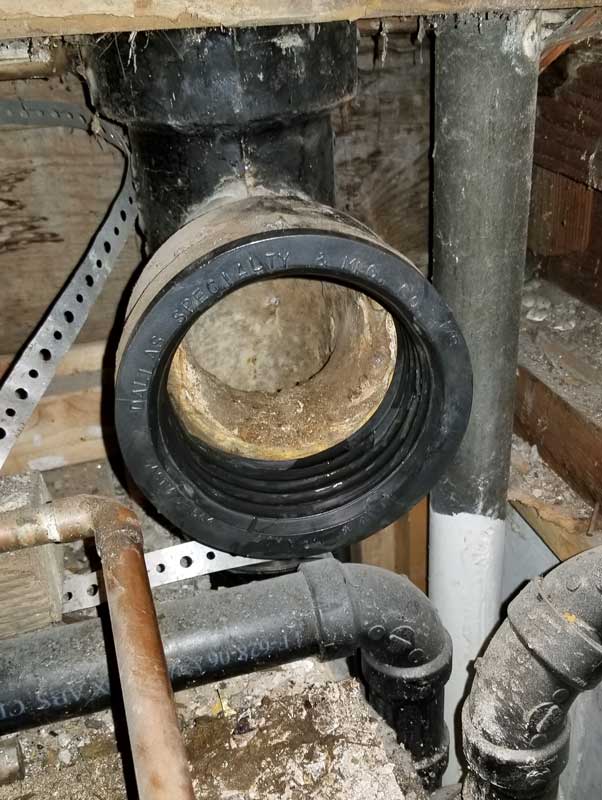
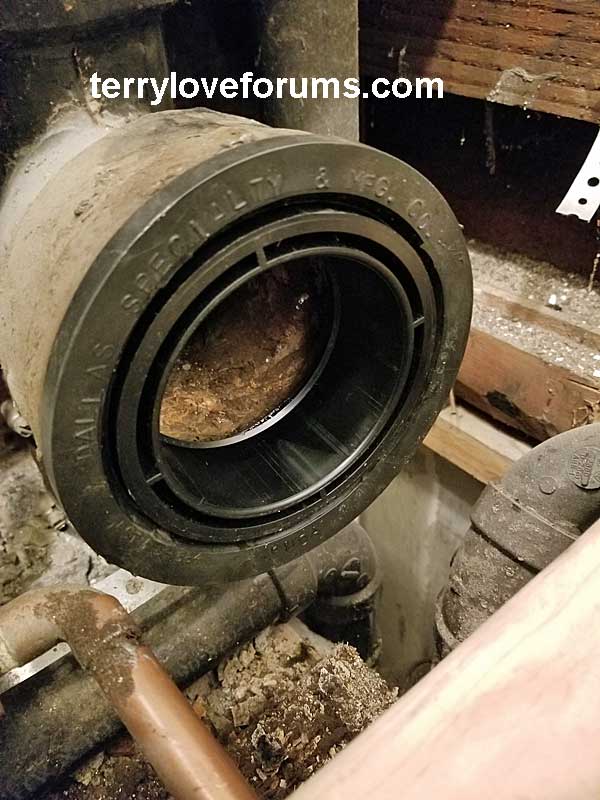
I got a 4x3 donut that's a bit deeper, but it still doesn't fill the whole hub. However, by using the donut without a bushing, I was able to extend the 3" pipe deeper into the cast iron tee - just slightly deeper than the brass to which the lead bend was connected. This way, the waste from the toilet gets directed down the tee, rather than dumping into the hub (I hope). If the drain backs up, water could get into the hub, but it should be thoroughly sealed, and it wouldn't be an everyday occurrence. So I think I'm good. Probably total overkill, but I'll sleep better. I just have to figure out how to check for leaks.
Incidentally, I put the subfloor down temporarily and got the sink and tub in place to figure out my final drain connections (plus I want to see if the tub drains adequately), and everything looks great. The acrylic tub is a lot slimmer than the steel one I pulled out, creating additional space, as does the replacement of an awful vanity (the bathroom was really too small for it) with a pedestal sink. It looks like the vanity replaced a wall-hung sink, so the framing's there for the pedestal sink.
Still a lot of work to do, but it shouldn't (I hope) be an uphill battle now. Thanks to everyone for your help so far. I will have to post some pictures when everything's further along. It's hard for me to find a lot of time to work on this project, so it could be a while...
Last edited by a moderator: