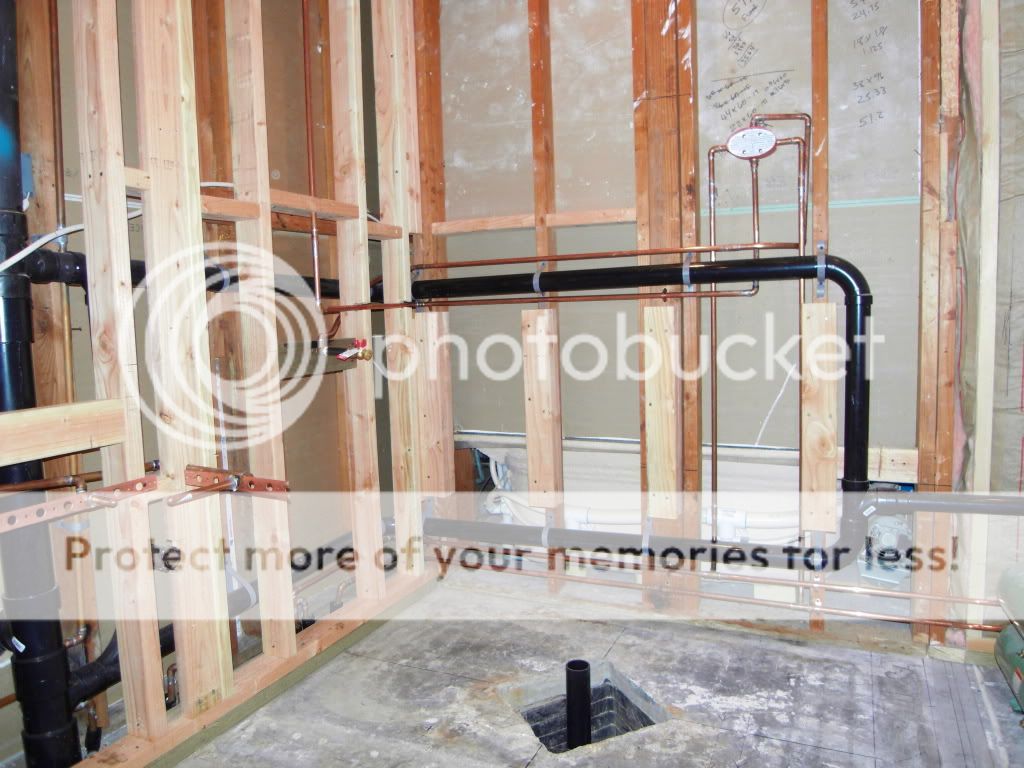
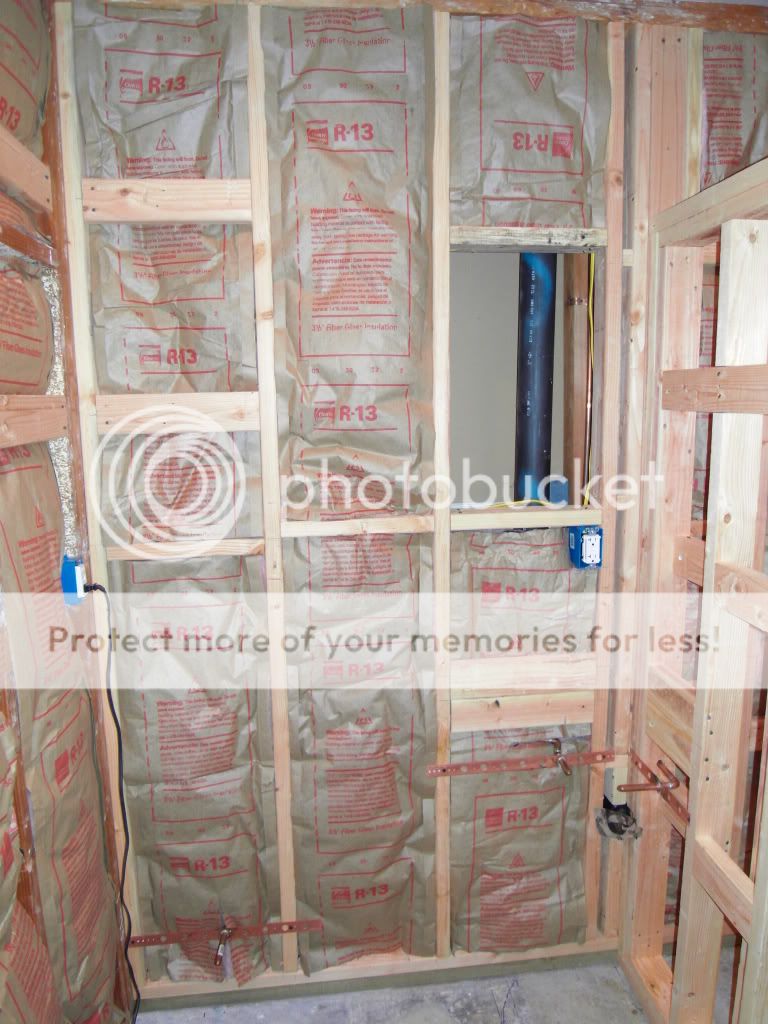
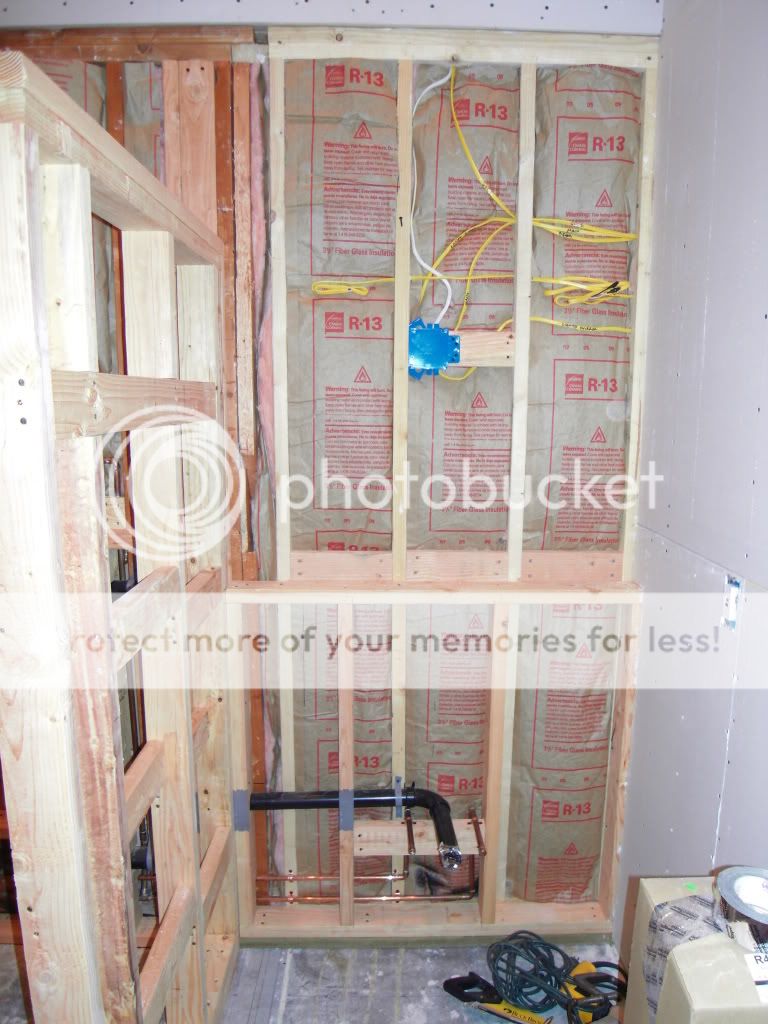
Moving toilet location in concrete slab.

Users who are viewing this thread

Piperca

Member
Messages
74
Reaction score
0
Points
6
Location
California
I don't know if you're a member of the John Bridge Tile Forum or not but its a great resource for anything tile related. There are a lot of Schluter pros there. John Bridges Kerdi E-Book is also a great resource.

Funny you should mention that ... yes, I did join that forum in preparation for what is to come ... and I'll be buying the book, too.

As for the pressure treated and Kerdi; I was planning drywalling over the pressure treated before applying the Kerdi ... same as the plan I had with the plywood. This still wouldn't work?
 
Last edited:

Piperca

Member
Messages
74
Reaction score
0
Points
6
Location
California
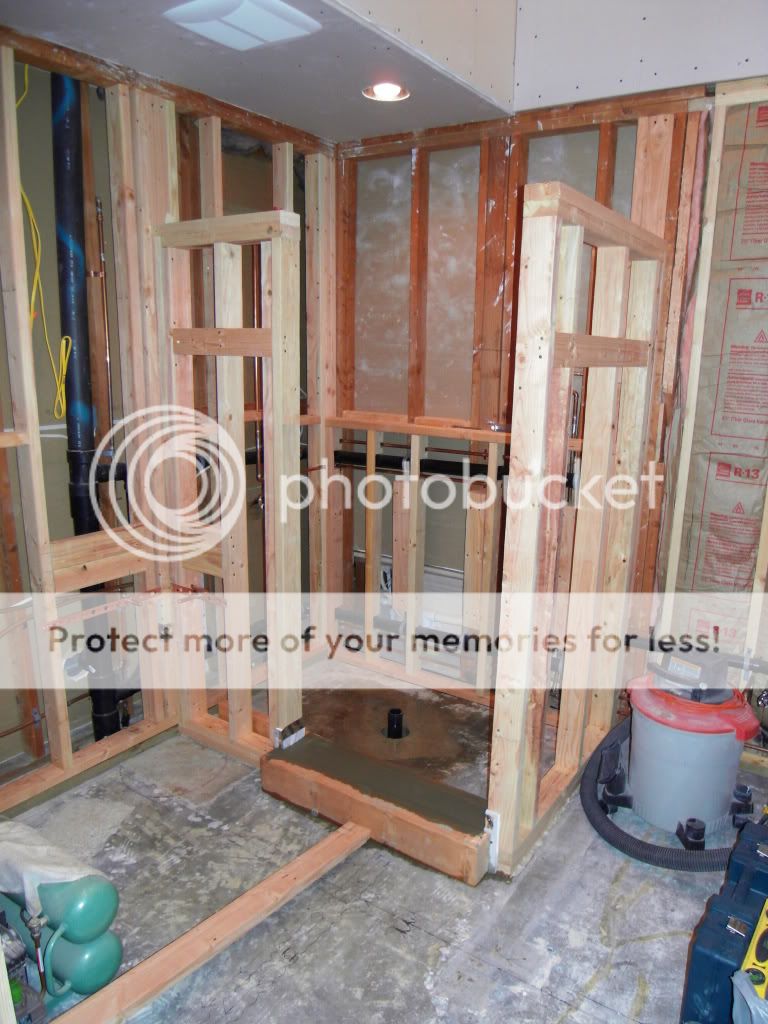
Point taken ... does this make you happy?

SDC11183.jpg


I'll put it back together tomorrow ... thanks for your input!
 

Jadnashua

Retired Defense Industry Engineer xxx
Messages
32,770
Reaction score
1,190
Points
113
Location
New England
On a concrete slab, direct contact with wood isn't that great. Pressure treated is especially problematic when you are dealing with tile, though. Unless you can find AKAT Kiln dried after treatment stuff. The standard stuff is literally dripping with the treatment liquids, and will twist into a pretzel after it dries. Much better to do this is either bricks or cement pavers (often cheaper), or a foam kerb. The Schluter one is fairly wide, and doesn't fit in everywhere, but is quick and easy. I put one of those in and once you set it into the thinset, even while wet, it doesn't want to budge. I tiled the sides and put a marble threshold on the top...solid as a rock. Be careful with pvc primer or glue, though!

If you want to use wood, use regular stud material and put some plastic or roofing felt underneath. It won't get wet from the shower, but if there's any moisture from the slab, it could still swell and mess up things. Best on a slab is all masonary materials or the foam.
 

Piperca

Member
Messages
74
Reaction score
0
Points
6
Location
California
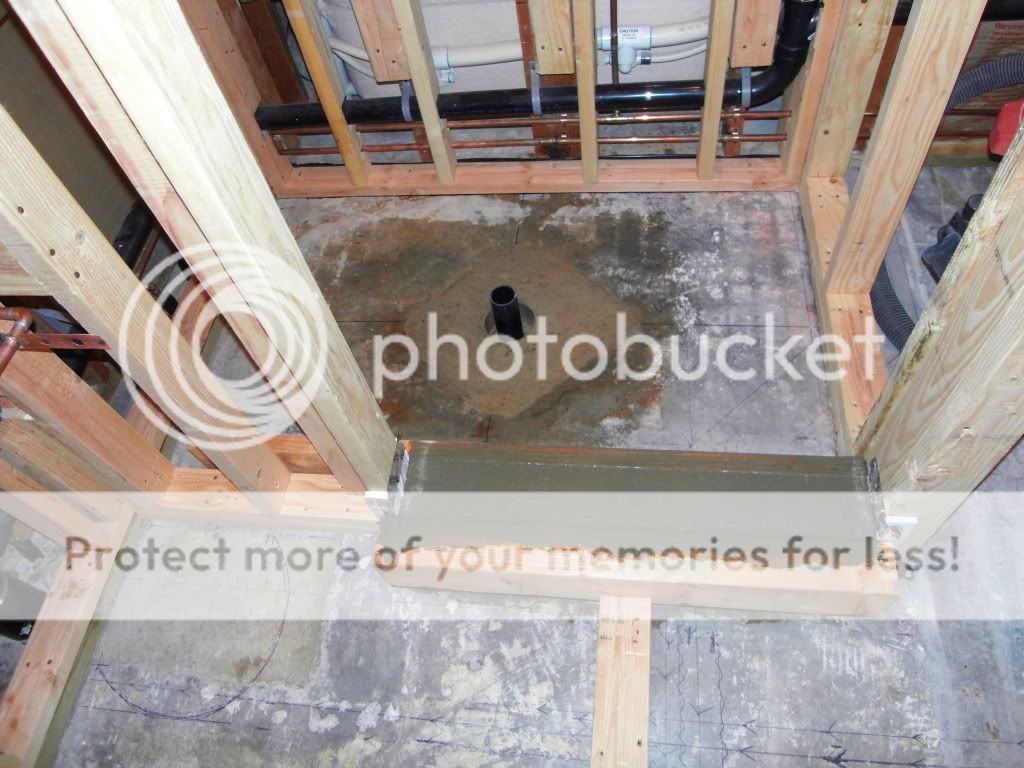
Okay, it's fixed ... not to mention, I spent a little more time on framing in the plumbing. I poured a curb out of concrete, which I think is going to work out for the best. Tomorrow; finish the wiring and other minor loose ends, then it's on to the drywall ... finally!

SDC11192.jpg

SDC11193.jpg
 

Iminaquagmire

DIY Senior Member
Messages
206
Reaction score
0
Points
0
Much better. Did you tie the curb to the slab with some sort of pins or is it just poured on top of it?
 

Piperca

Member
Messages
74
Reaction score
0
Points
6
Location
California
I secured it to the partitions on both sides. I drove 4 x 16d nails into each side and left them sticking out half way; I thought that would be sufficient ... don't you think?
 

Iminaquagmire

DIY Senior Member
Messages
206
Reaction score
0
Points
0
I think that will be okay. It'll all be tied together with kerdi and tile too. I would have pinned it to the floor with some rebar or some bolts dropped in some holes but again I think you'll be fine.
 

JohnfrWhipple

BATHROOM DESIGN & BUILD
Messages
3,225
Reaction score
102
Points
48
Location
North Vancouver, BC
Extra Bridging and plywood

Are those pony walls stopping at that height?

Everything looks nice and tidy. My two bits;

Add in more blocking at the bottom and top of your studs to keep them from twisiting. Add in 2"x10" blocking mid span where one day a grab bar migght be installed.

Put in diagonal bridging on the pony walls like one would support a gate and then glad with 1/2" ply glued and screwed. This will stiffen those walls up a lot.

Good Luck.

Looks great.
 

Piperca

Member
Messages
74
Reaction score
0
Points
6
Location
California
John, yes, the walls terminate at 76"; I'm trying to keep the room open feeling. What you can't see from the photograph is I have opened up the ceiling and vaulted it to 14'. I will be adding a venting skylight to finish the look.

I will add additional blocking to the walls, but I'm not sure it needs the 1/2" ply. The small wall is under 24" and the other is only 41". I think the blocking will be more than sufficient ... it's very sturdy as it is, since it is screwed to death! After framing, I made sure I ran around it with 3" screws to make sure there was not going to be any movement for the Kerdi ... and I can assure you there's not!
 

Piperca

Member
Messages
74
Reaction score
0
Points
6
Location
California
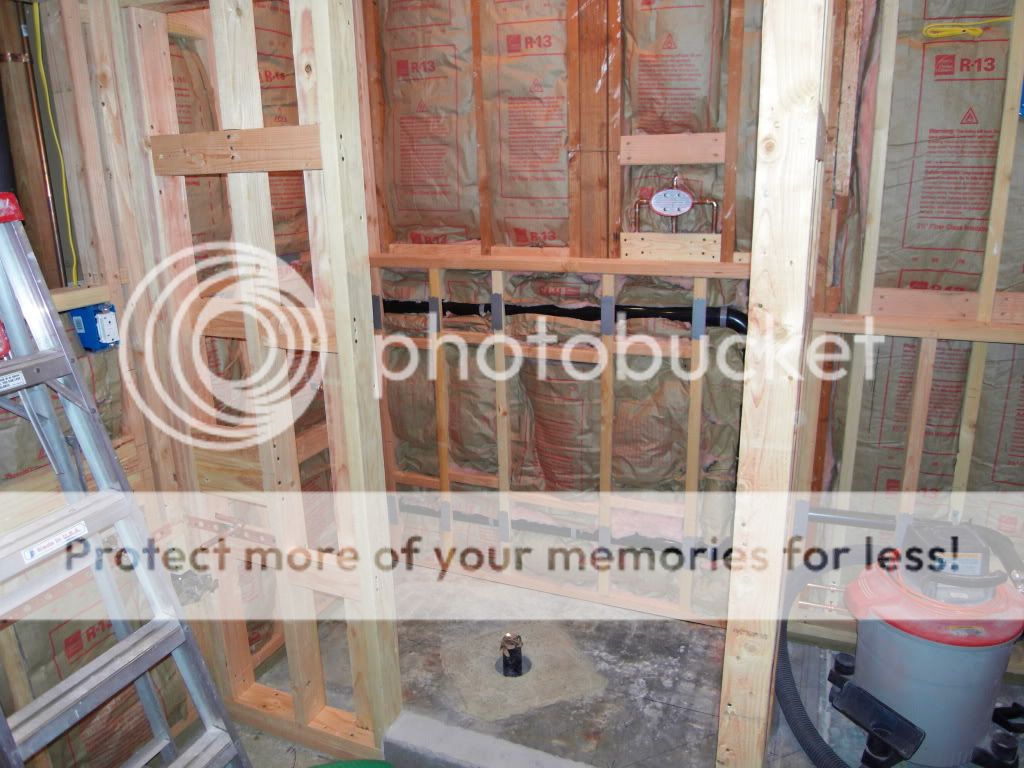
Finally ready for drywall ... I've got three 3" round electrical boxes (oxymoron :D) to mount for the vanity lights, but I'm going to use the type that mount in the drywall, so I can place them after the drywall is up.

SDC11228.jpg

SDC11220.jpg

SDC11224.jpg
 
Top
Hey, wait a minute.

This is awkward, but...

It looks like you're using an ad blocker. We get it, but (1) terrylove.com can't live without ads, and (2) ad blockers can cause issues with videos and comments. If you'd like to support the site, please allow ads.

If any particular ad is your REASON for blocking ads, please let us know. We might be able to do something about it. Thanks.
I've Disabled AdBlock    No Thanks