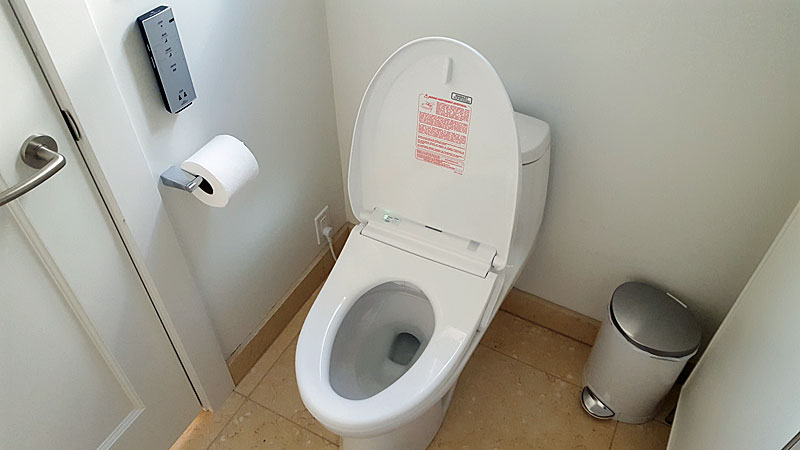
So, I needed to replace a toilet that my wife didn't like. Wasn't broken, but never flushed well. We didn't do it when we did a big remodel two years ago, so it was time. I started looking for replacements - read Consumer Reports, thought back to what a plumber friend had said a few years ago and thought of Terry Love's web site. Toto looked good everywhere. I chose the TOTO Ultramax II MS604114CEFG for maximum flushing capability.
I thought, "I can do this," so I ordered the toilet from Lowe's up the street ($532, delivered to my apartment and returnable to Lowe’s if the toilet was defective in any way) and started researching not so much the process, but what could go wrong. Apparently a lot can go wrong, but I thought I had a good shot at a successful install. My "Plan B" was to confess my shortcomings and call a plumber to correct/finish the job. The toilet arrived more quickly than I expected and I started to unpack it. Man alive. It was packed so well, you could have dropped it from a plane without damage. Kudos to Toto. It took a couple of hours to unpack (neatly and cleanly inside the apartment).
I pulled the old toilet, a builder's Kohler, and that old sinking feeling started welling up. First, the flange was extended with a very soft plastic ring held in place by two concrete screws. Second, the original plastic flange was completely broken. The only thing keeping it in place was that it was attached by a thread to the "stem" that fit into the pipe in the floor. It was broken so badly, it looked like it had to come out completely. What was in the floor turned out to be a 3" PVC pipe with a belled end (expanded part) that allowed another 3" pipe to fit in it. It was flush with the concrete floor. The pipe that fit into the floor pipe was part of the busted up closet flange. How to get the inside piece of the closet flange out? I stuffed some rags into a zip-lock bag, pushed it into the floor pipe and went back to the computer.
I searched Google and YouTube and found a couple of videos showing that if the inserted pipe had not been properly solvent welded, it could probably be chipped out. The video showed how to use a poke saw to cut two parallel lines in the inside pipe and then gently, with a chisel or screwdriver, chip out that small section. If it popped out, the whole inserted pipe could eventually come out. I didn’t have a poke saw, but I thought that a wallboard saw, even though it had very aggressive teeth, would work. Work it did. And, lo and behold, the small part popped off. After a lot of gentle chipping, the complete pipe was out. I smoothed out the inside with sandpaper and had a clean floor pipe to use.
I shopped at Lowe's, Home Depot and Ace Hardware and all I could find was a 3" closet flange with a stem that seemed a bit too long. Maybe in a new belled end in the floor it might have worked, but I was afraid to push it all the way in to test it, for fear that I would not be able to get it out. I hack-sawed off 3/8" of the stem and it looked like it would be a pretty good fit. I still needed a spacer, but, all-in-all, the new flange and spacer came in at about 3/8" above the floor, supported on good concrete. I drilled four holes in the concrete and used 4 Tapcon 3/16” x 2 3/4" screws. The new flange was solid (and looked pretty good).
Then it was wax ring time. With a horn or without? Standard or extra thick? The old wax kind or one of the newfangled silicone rings? The fellow in Lowe’s said, “Wax has been working for 100 years. Why push your luck?” That sounded like good advice. I bought a horned type and a spare without a horn (I don’t know why).
I put the horned ring in place, lowered the toilet into place and thought it didn’t go down quite as far as I might want it to. Probably close enough. The toilet rocked a bit, but maybe it would work. And then, like a bolt of lightning, a terrible thought struck me. I hadn’t removed the rags stuffed in the floor. The first test flush would have been a disaster. So off the toilet came, along with a totally destroyed wax ring. The horned ring appeared to have not only the horn and the wax, but some kind of plastic gasket. Maybe that’s what took up some extra space and prevented the toilet from seating perfectly.
After I cleaned everything up, I thought I should check with Terry Love’s web site again. And Terry recommends only using a horned ring if you are using two rings (put the horned ring above the regular ring. Otherwise, just use one regular ring. Also, another site said to dry fit the toilet and get your shims ready and in place. I got the shims in place, put the regular ring on the closet flange, REMOVED THE RAGS, and lowered the toilet once again. And this time it fit perfectly. I tightened the bolts, cut off the tops, put the caps in place and installed the seat. (Why, when you saw the bolts off at the indents, is the bolt still too tall for cap to fit? Why don’t they make bolts with two indents, so you can saw it shorter? More mysteries of the universe…)
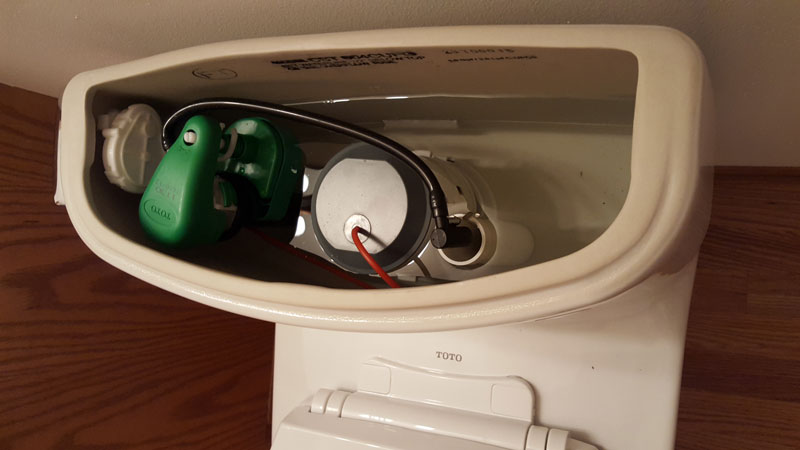
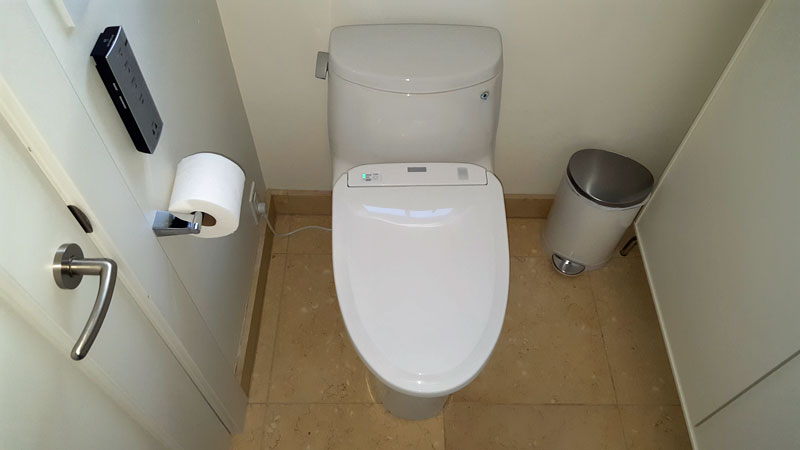
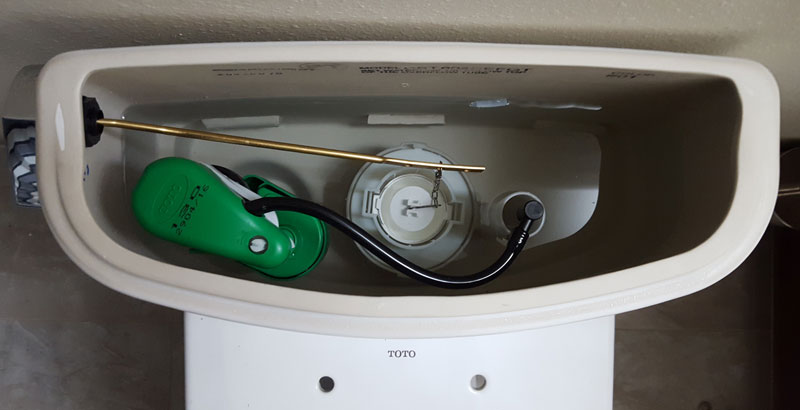
It’s a beautiful thing. The toilet flushes perfectly and leaves zero in the bowl. It uses 1.28 gallons of water and, as someone pointed out, if you need an extra powerful flush, just hold the handle a bit longer. There is water in the tank that isn’t used in a normal flush, but is available for those “special” needs. And, most important, the wife is happy. Thrilled even.
Hey, a big “thank you” to Terry Love and everyone who contributes to his site. Seeing so many people doing this job successfully so many times, gave me the confidence to try and the tools to succeed.
Happy flushing!
Steve G.