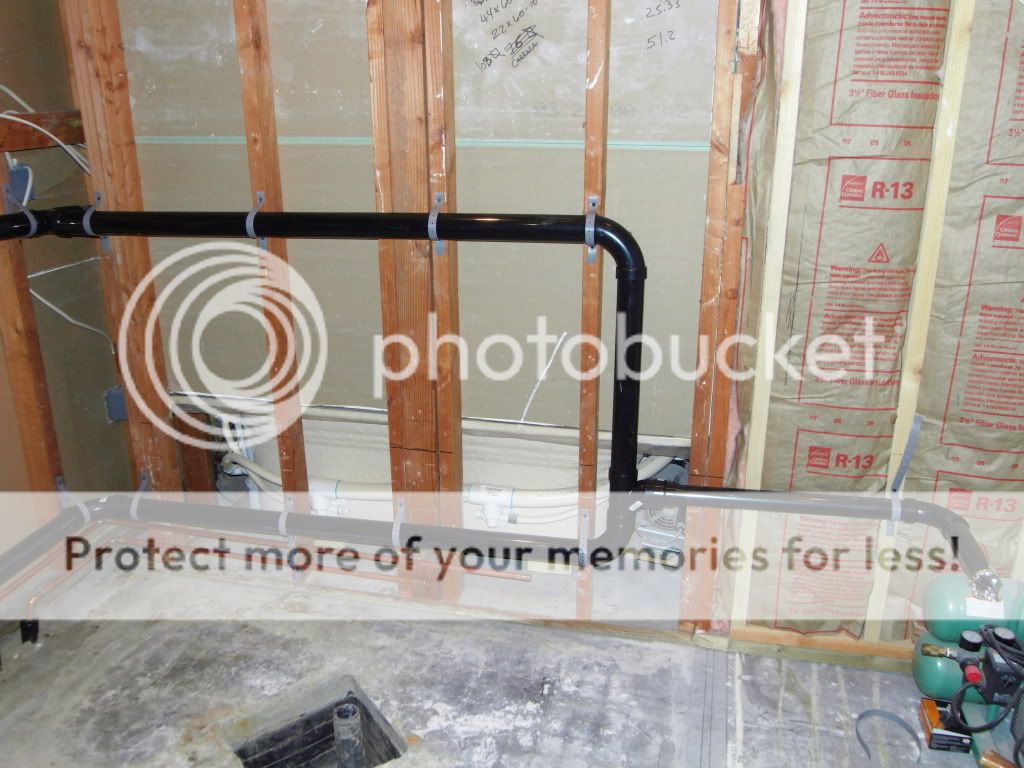
1) I think you might have issues with all that old copper not being secured. Why not just buy new copper and use that instead of sweating all those shorter pieces in? I'd find a way to secure it before closing it up.
2) You should really have some nail plates over those pipes to protect them. You may have to come up with some on your own since the gaps in the framing are so big.
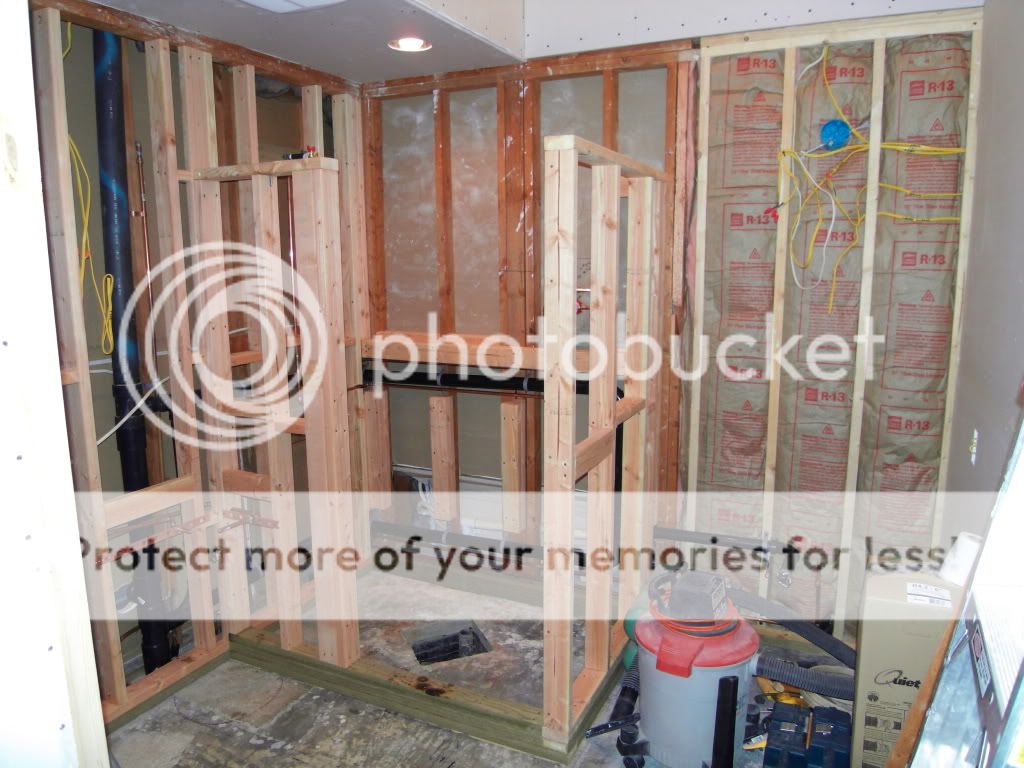
3) When it comes time to sheetrock, you're going to have problems with the inside corners since there is no framing to screw into.
4) Never tile over PT lumber. It will warp as it dries out wrecking your tile. Wood in general directly over slab is a bad idea, especially in a shower curb. I'd cut that out and thinset some bricks down when you do the shower.
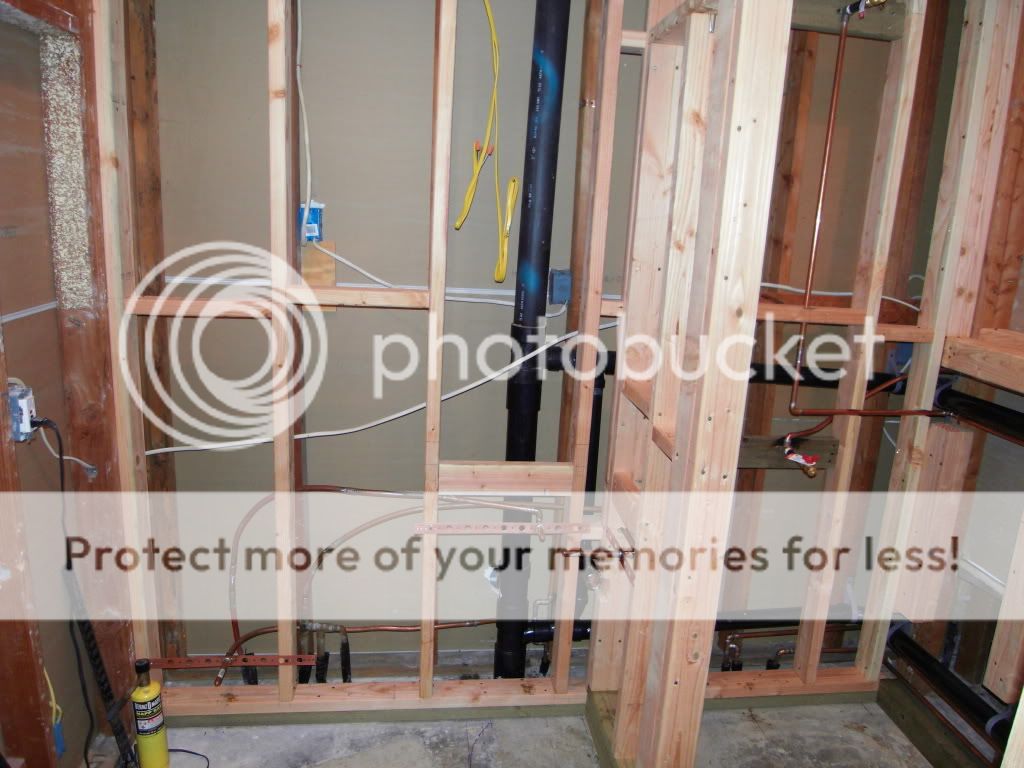
5) Its hard to tell, but I see what looks like 14/2 mixed in with the 12/2. Bathrooms should have a 20 amp GFCI protected circuit (20 amps = 12ga wire). It can service other bathrooms so long as it doesn't have lighting on it. If it has lights on it, it cannot leave the bathroom.
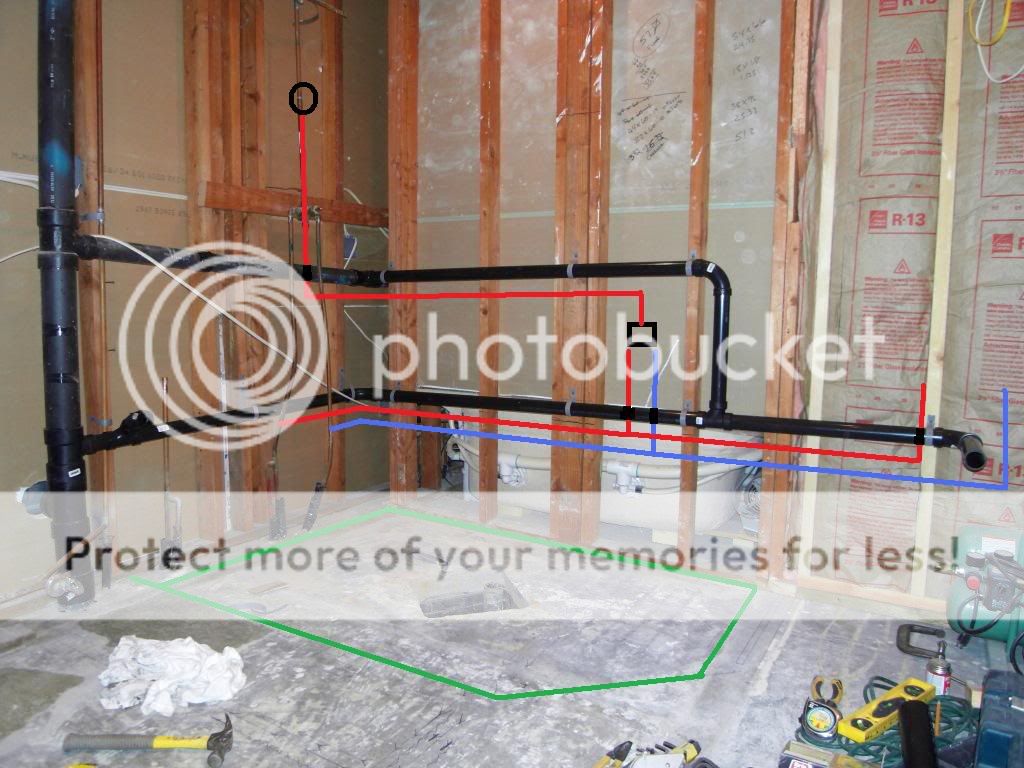
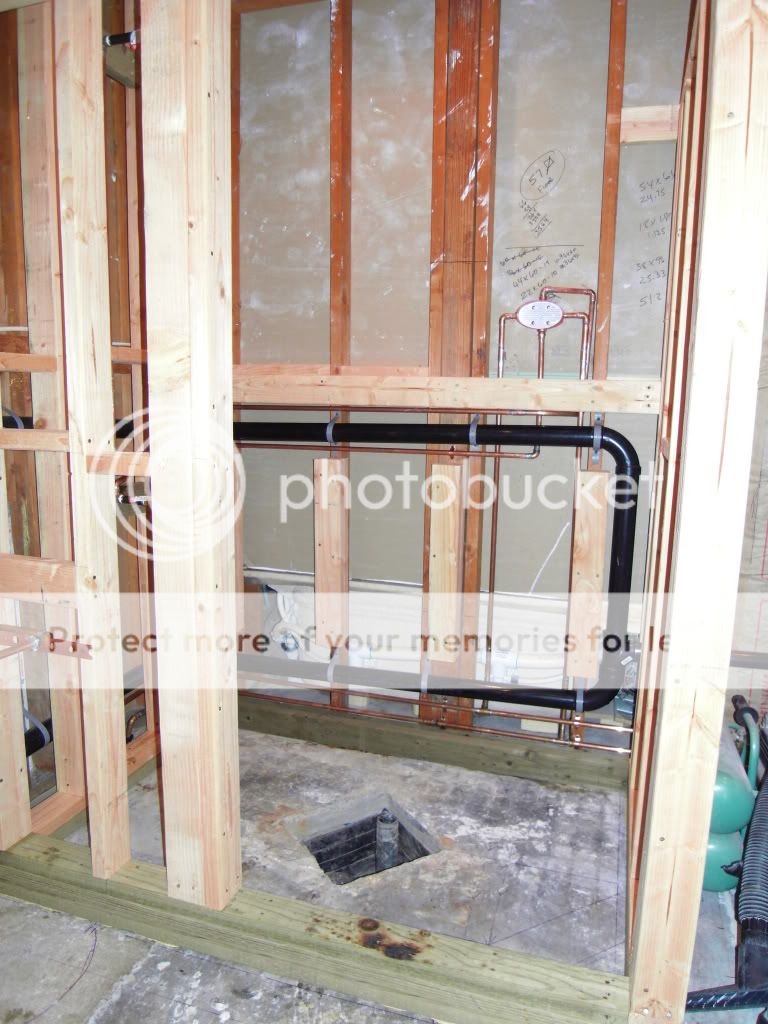
6) How are you going to attach a trap to the lavatory drain if its halfway into the shower wall?
Also, while the walls are open, think about adding any framing for future grab bars, any towel bars, pedestal sinks, etc. Even if you don't put them in now, its good to do it while the walls are open.